When it comes to yearbook design, Canva has quickly become a go-to platform for advisors and students looking for an easy-to-use, creative software. It’s a new favourite among advisors because it’s flexible, intuitive, and many students are already familiar with it, and the best part is, it’s free for educators and students. Canva is a great platform that gives students everything they need to bring their ideas to life and create eye-catching layouts, including access to thousands of graphics, images, unique fonts, and powerful photo editing tools.
While it wasn’t originally created as dedicated yearbook software, it’s an excellent tool for layout and yearbook design. Whether you’re a seasoned advisor or brand new, Canva makes it easy for you and your team to create a stand out yearbook. To help you stay organized throughout the yearbook process, we’ve put together some of our favourite tips for keeping your workflow smooth and stress-free.
One of the first steps is creating a Canva Team. This keeps your entire yearbook staff in one workspace, and allows you to assign roles that match each student’s level of responsibility. Canva labels these roles differently, but they function similarly to typical yearbook positions.
Here’s how we recommend assigning them:
• Team Admin – Ideal for editors-in-chief or student leaders who will help oversee the project.
• Team Owner – This should be you, the advisor. You have full control over all settings and permissions.
• Team Brand Designer – Manages brand kits, templates, and design consistency. A great role for your detail-focused designers.
• Member – Most of your students will fit here. They can collaborate on pages and create designs but have limited access to team settings.
Once your team is set up, your next step is creating your yearbook ladder. This is your page-by-page blueprint of the entire yearbook. Your yearbook ladder determines how many pages you’ll need and where each section will go.
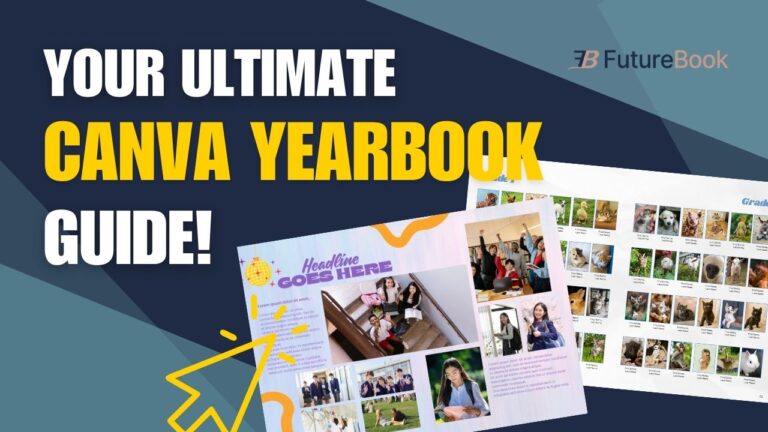
With your ladder complete, you can move into creating your yearbook files. In Canva, you’ll want to create a separate file for each section or page, depending on how you’re organizing your yearbook. Simply select “Create a New Design,” enter your dimensions, and ensure your bleed and margins are added. For a standard double-page spread, feel free to use our free template with built-in guides. For single pages, enter your single-page dimensions and follow proper bleed and margin guide setup. If you need step-by-step help, you can watch our full tutorial here: (insert YouTube link).
Once all your page files are created, we highly recommend building an interactive yearbook ladder inside a single Canva file. This gives your entire team a real-time view of what’s completed, what’s in progress, and what still needs to be done. This is a great way to preview the yearbook in one file. You can find written instructions here.
Finally, remember to share files only with the students assigned to them. This keeps things clean and prevents accidental edits on completed pages, while also giving students clear ownership of their spreads.
Designing a yearbook in Canva becomes so much easier when you start with the right structure, clear roles, and organized files. With your team set up, your ladder built, and your files set, you’ll be surprised how smoothly your workflow can run in Canva. And to make the process even simpler, we’ve created a collection of free FutureBook Canva templates to help you and your students start strong.